江理校园网登录认证
我们学校用的是网页认证,首先打开浏览器进入认证页面,按F12打开控制台,登录然后抓包,找到需要的url,多试几次可以知道认证登录需要账号,密码和ip这三个东西,而在三个里面只有ip会一直变化,下面就可以写脚本了。
首先是ip,每次连上校园网后ip都会变,因此每次连接后都需要获取一次本机ip,之后再把ip给到标签当中
import sockets = socket.socket(socket.AF_INET, socket.SOCK_DGRAM)   # 获取ip
s.connect(("8.8.8.8", 80))
print("本机ip:", s.getsockname()[0])
wlan_user_ip = s.getsockname()[0]
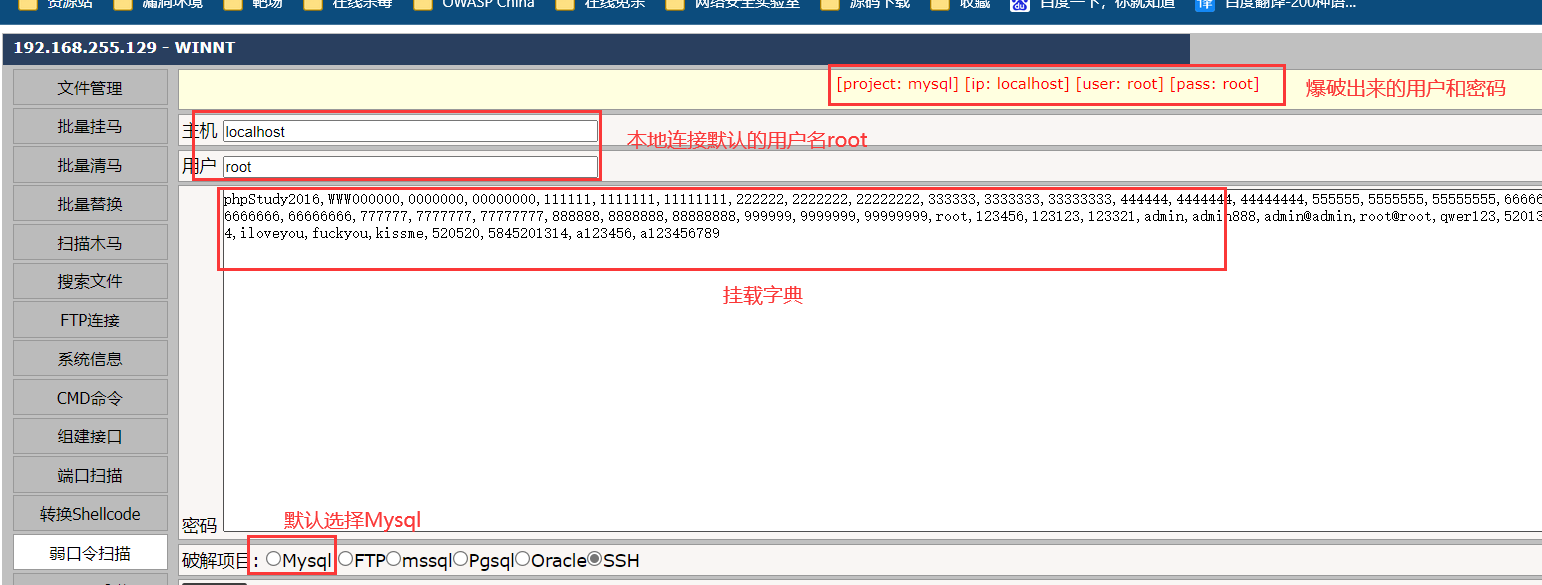
然后是账号和密码,发送账号和密码很简单,但是如果每次登陆都需要重复输入密码就很麻烦,一点都不便利,所以就要有一个可以保存输入的账号密码的机制,这里用write建立一个读取而且便于修改的机制(指在txt中改密码)
import os
import linecache# 先检测有没有保存的账号密码在,如果没有就新建一个
if os.path.exists("账号密码.txt") == True:filename = "账号密码.txt"text_1 = linecache.getline(filename, 1) # 分别逐行读取账号和密码text_2 = linecache.getline(filename, 2)print("登录信息:")print(text_1, text_2)
else:with open("账号密码.txt", "w") as f:print("第一次使用需输入密码,需要修改账号信息请在同一文件夹下的“账号密码”内修改")name = input("请输入账号(一卡通号@telecom(电信) cmcc(移动) unicom(联通) 示例:123456@telecom ):")password = input("请输入密码:")user = name + '\n' + passwordf.write(user)f.close()filename = "账号密码.txt"text_1 = linecache.getline(filename, 1)text_2 = linecache.getline(filename, 2)print(text_1, text_2)passpass
把上述内容整合起来再用发送,就得到了一个最基础的认证脚本
import os
import linecache
import requests
import time
import sockets = socket.socket(socket.AF_INET, socket.SOCK_DGRAM)   # 获取ip
s.connect(("8.8.8.8", 80))
print("本机ip:", s.getsockname()[0])
wlan_user_ip = s.getsockname()[0]if os.path.exists("账号密码.txt") == True:filename = "账号密码.txt"text_1 = linecache.getline(filename, 1)text_2 = linecache.getline(filename, 2)print("登录信息:")print(text_1, text_2)
else:with open("账号密码.txt", "w") as f:print("第一次使用需输入密码,需要修改账号信息请在同一文件夹下的“账号密码”内修改")name = input("请输入账号(一卡通号@telecom(电信) cmcc(移动) unicom(联通) 示例:123456@telecom ):")password = input("请输入密码:")user = name + '\n' + passwordf.write(user)f.close()filename = "账号密码.txt"text_1 = linecache.getline(filename, 1)text_2 = linecache.getline(filename, 2)print(text_1, text_2)passpassurl = 'http://eportal.jxust.edu.cn:801/eportal/portal/login?callback=dr1003&login_method=1&user_account=%s&user_password=%s&wlan_user_ip=%s&wlan_user_ipv6=&wlan_user_mac=000000000000&wlan_ac_ip=&wlan_ac_name=&jsVersion=4.1.3&terminal_type=1&lang=zh-cn&v=3008&lang=zh' % (text_1, text_2, wlan_user_ip)headers = {"Accept": "*/*","Accept-Encoding": "gzip, deflate","Accept-Language": "zh-CN,zh;q=0.9,en;q=0.8,en-GB;q=0.7,en-US;q=0.6","Cache-Control": "no-cache","Connection": "keep-alive","Host": "eportal.jxust.edu.cn:801","Pragma": "no-cache","Referer": "http://eportal.jxust.edu.cn/","User-Agent": "Mozilla/5.0 (Windows NT 10.0; Win64; x64) AppleWebKit/537.36 (KHTML, like Gecko) Chrome/111.0.0.0 Safari/537.36",}rea = requests.get(url=url, headers=headers)
print(rea.text)print("15秒后自动关闭")
time.sleep(15)
本来到这里就结束了,但是很多时候电脑开机时并不会主动连接校园网,手动连接大概率会自动弹出认证页面来,再用脚本就显得很多余,所以这里再加上一个自动连接的功能
得到的完整代码如下
import requests
import time
import linecache
import os
import socket
import pywifi
from pywifi import const# 判断网络是否连接
def wifi_connect_status():wifi = pywifi.PyWiFi()  # 创建wifi对象iface = wifi.interfaces()[0]  # 获取第一个无线网卡if iface.status() in [const.IFACE_CONNECTED, const.IFACE_INACTIVE]:print("网络未连接")return 1else:print("已连接网络")return 0def scan_wifi():wifi = pywifi.PyWiFi()  # 创建wifi对象iface = wifi.interfaces()[0]  # 获取第一个无线网卡iface.scan()time.sleep(1)wifiresults = iface.scan_results()return wifiresultsdef connect_wifi():wifi = pywifi.PyWiFi()  # 创建wifi对象ifaces = wifi.interfaces()[0]  # 获取第一个无线网卡print("无线网卡:" + ifaces.name())  # 输出无线网卡名称ifaces.disconnect()  # 断开连接time.sleep(3)profile = pywifi.Profile()  # 配置文件profile.ssid = "JXUST-WLAN"  # wifi名称profile.auth = const.AUTH_ALG_OPEN  # 认证算法profile.akm.append(const.AKM_TYPE_NONE)  # 加密类型  const.AKM_TYPE_NONE   const.AKM_TYPE_WPAPSK  const.AKM_TYPE_WPA  const.AKM_TYPE_WPA2   const.AKM_TYPE_WPA2PSKprofile.cipher = const.CIPHER_TYPE_NONE # 加密单元ifaces.remove_all_network_profiles()  # 删除其它配置文件tmp_profile = ifaces.add_network_profile(profile)  # 加载配置文件ifaces.connect(tmp_profile)  # 连接wifiifaces.connect(tmp_profile)time.sleep(2)isok = Trueif ifaces.status() == const.IFACE_CONNECTED:print("连接成功,认证中...")else:print("连接失败")time.sleep(1)return isokdef main():wifi_connect_status()scan_wifi()connect_wifi()main()print("获取ip中...")
time.sleep(5)
s = socket.socket(socket.AF_INET, socket.SOCK_DGRAM)   # 获取ip
s.connect(("8.8.8.8", 80))
print("本机ip:", s.getsockname()[0])
wlan_user_ip = s.getsockname()[0]if os.path.exists("账号密码.txt") == True:filename = "账号密码.txt"text_1 = linecache.getline(filename, 1)text_2 = linecache.getline(filename, 2)print("登录信息:")print(text_1, text_2)
else:with open("账号密码.txt", "w") as f:print("第一次使用需输入密码,需要修改账号信息请在同一文件夹下的“账号密码”内修改")name = input("请输入账号(一卡通号@telecom(电信) cmcc(移动) unicom(联通) 示例:123456@telecom ):")password = input("请输入密码:")user = name + '\n' + passwordf.write(user)f.close()filename = "账号密码.txt"text_1 = linecache.getline(filename, 1)text_2 = linecache.getline(filename, 2)print(text_1, text_2)passpassurl = 'http://eportal.jxust.edu.cn:801/eportal/portal/login?callback=dr1003&login_method=1&user_account=%s&user_password=%s&wlan_user_ip=%s&wlan_user_ipv6=&wlan_user_mac=000000000000&wlan_ac_ip=&wlan_ac_name=&jsVersion=4.1.3&terminal_type=1&lang=zh-cn&v=3008&lang=zh' % (text_1, text_2, wlan_user_ip)headers = {"Accept": "*/*","Accept-Encoding": "gzip, deflate","Accept-Language": "zh-CN,zh;q=0.9,en;q=0.8,en-GB;q=0.7,en-US;q=0.6","Cache-Control": "no-cache","Connection": "keep-alive","Host": "eportal.jxust.edu.cn:801","Pragma": "no-cache","Referer": "http://eportal.jxust.edu.cn/","User-Agent": "Mozilla/5.0 (Windows NT 10.0; Win64; x64) AppleWebKit/537.36 (KHTML, like Gecko) Chrome/111.0.0.0 Safari/537.36",}rea = requests.get(url=url, headers=headers)
print(rea.text)print("15秒后自动关闭")
time.sleep(15)
最后用封装一下就可以拿来用了
链接:
提取码:2022
PS:其实这里有些代码是借轮子借过来的
