crossApp初级-CAButton类-7
类说明
按钮类,主要为了接收用户的点击操作,从而触发特定的事件。 已经定义好类对象可以存在的样式,我们不需要自己去定义按钮的样式。(实际上也限制了按钮的样式)
基类
属性
访问修饰符 属性名 说明
背景视图
Image 不同状态显示的图片
Type 的类型
Title 的标题
image的颜色
标题颜色
标题的字体
方法
访问修饰符 方法名 说明
设置的状态
判断文本标签是否相等(此方法在6.0版本已经
被废弃)
中断按钮回调事件
一。包括三种类型,采用第一种创建后看不见任何明显效果,需要自己设置;第二种,默认为创建的添加了矩形的外边框;第三种,默认为创建的添加圆角的外边框。使用,,。
typedef enum{CAButtonTypeCustom = 0,CAButtonTypeSquareRect,CAButtonTypeRoundedRect,} CAButtonType;
代码示例:
FirstViewController::viewDidLoad()
{//	设置为CAButtonTypeCustom类型,看不见Button;
//	CAButton* cabutton1 = CAButton::create(CAButtonTypeCustom);
//	设置为长方形的buttonCAButton* cabutton1 = CAButton::create(CAButtonTypeSquareRect);cabutton1->setCenter(CCRect(240, 320, 100, 0));this->getView()->addSubview(cabutton1);}//效果如下: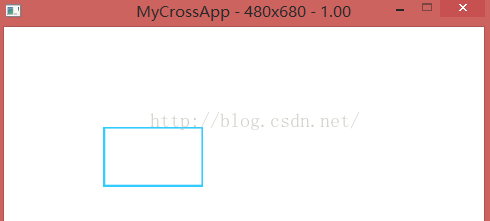
FirstViewController::viewDidLoad()
{// 设置为CAButtonTypeCustom类型,看不见Button;
// CAButton* cabutton1 = CAButton::create(CAButtonTypeCustom);
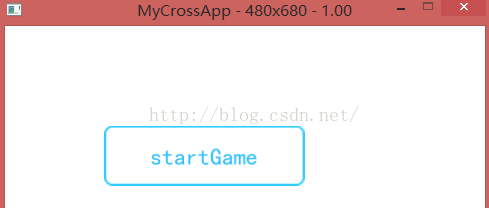
// 设置为边角圆滑的长方形的buttonCAButton* cabutton1 = CAButton::create(CAButtonTypeRoundedRect);cabutton1->setCenter(CCRect(240, 320, 100, 0));this->getView()->addSubview(cabutton1);}//效果如下图: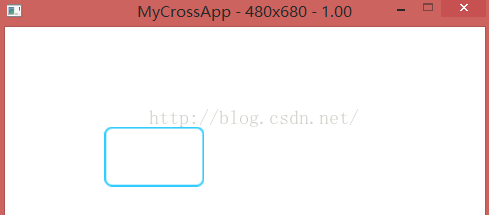
二。设置上的文字:使用e()函数。
void FirstViewController::viewDidLoad()
{//	设置为CAButtonTypeCustom类型,看不见Button;但是看的见button上的文字CAButton* cabutton1 = CAButton::create(CAButtonTypeCustom);cabutton1->setCenter(CCRect(100, 100, 100, 40));//设置 Button 名字的题目(名字)cabutton1->setTitleForState(CAControlStateNormal, "startGame");//设置Button 的状态颜色,当按下的时候会变成设置的红色cabutton1->setTitleColorForState(CAControlStateHighlighted, ccc4(255, 0, 0, 255));this->getView()->addSubview(cabutton1);}//效果如下图: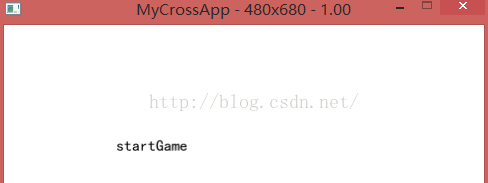
其他的2中形状效果如下:
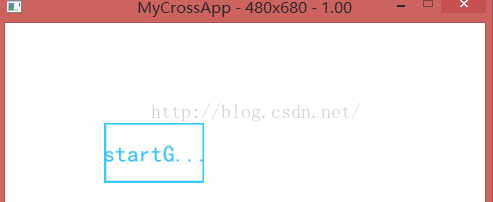
注意这里 的长度太小,文字显示不全
void FirstViewController::viewDidLoad()
{//	设置为CAButtonTypeCustom类型,看不见Button;CAButton* cabutton1 = CAButton::create(CAButtonTypeSquareRect);cabutton1->setFrame(CCRect(100, 100, 200, 40));//设置 Button 名字的题目(名字)cabutton1->setTitleForState(CAControlStateNormal, "startGame");//设置Button 的状态颜色cabutton1->setTitleColorForState(CAControlStateHighlighted, ccc4(255, 0, 0, 255));this->getView()->addSubview(cabutton1);}效果如下: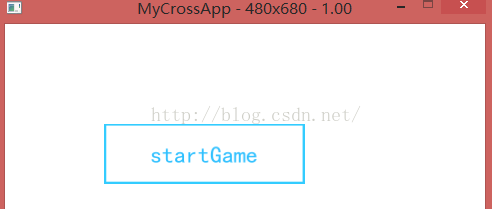
ect 形状的效果如下:
三。设置按钮背景的颜色和图片,9宫格,使用 State()函数
1.设置纯色背景
void FirstViewController::viewDidLoad()
{//	设置为CAButtonTypeCustom类型,看不见Button;CAButton* cabutton1 = CAButton::create(CAButtonTypeRoundedRect);cabutton1->setFrame(CCRect(100, 100, 200, 40));//设置 Button 的题目(名字)cabutton1->setTitleForState(CAControlStateNormal, "startGame");//设置Button 名字的状态颜色cabutton1->setTitleColorForState(CAControlStateHighlighted, ccc4(255, 0, 0, 255));//显示button纯色背景cabutton1->setBackGroundViewForState(CAControlStateAll,CAView::createWithColor(CAColor_blue));this->getView()->addSubview(cabutton1);}//效果如下: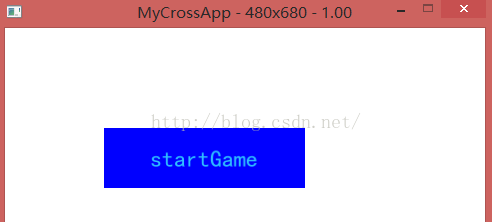
2.设置背景图片
// 设置为CAButtonTypeCustom类型,看不见Button;CAButton* cabutton1 = CAButton::create(CAButtonTypeRoundedRect);cabutton1->setFrame(CCRect(100, 100, 200, 40));//设置 Button 的题目(名字)cabutton1->setTitleForState(CAControlStateNormal, "startGame");//设置Button 名字的状态颜色cabutton1->setTitleColorForState(CAControlStateHighlighted, ccc4(255, 0, 0, 255));//设置button图片背景cabutton1->setBackGroundViewForState(CAControlStateAll,CAImageView::createWithImage(CAImage::create("r/HelloWorld.png")));this->getView()->addSubview(cabutton1);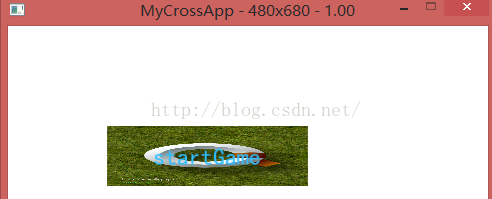
3.设置9宫格背景图片,使用 ()
void FirstViewController::viewDidLoad()
{//	设置为CAButtonTypeCustom类型,看不见Button;CAButton* cabutton1 = CAButton::create(CAButtonTypeRoundedRect);cabutton1->setFrame(CCRect(100, 100, 200, 40));//设置 Button 的题目(名字)cabutton1->setTitleForState(CAControlStateNormal, "startGame");//设置Button 名字的状态颜色cabutton1->setTitleColorForState(CAControlStateHighlighted, ccc4(255, 0, 0, 255));//设置button图片背景cabutton1->setBackGroundViewForState(CAControlStateAll,CAScale9ImageView::createWithImage(CAImage::create("r/HelloWorld.png")));this->getView()->addSubview(cabutton1);}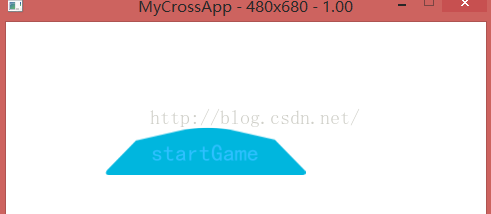
3.设置 状态图片,不支持显示9宫格效果显示图片
void FirstViewController::viewDidLoad()
{//	设置为CAButtonTypeCustom类型,看不见Button;CAButton* cabutton1 = CAButton::create(CAButtonTypeRoundedRect);cabutton1->setFrame(CCRect(100, 100, 200, 40));//设置 Button 的题目(名字)cabutton1->setTitleForState(CAControlStateNormal, "startGame");//设置Button 名字的状态颜色cabutton1->setTitleColorForState(CAControlStateHighlighted, ccc4(255, 0, 0, 255));//设置状态图片cabutton1->setImageForState(CAControlStateHighlighted, CAImage::create("r/vdo_play_down.png"));this->getView()->addSubview(cabutton1);}//当按下的时候,会出现图片,也可以设置其他的状态的图片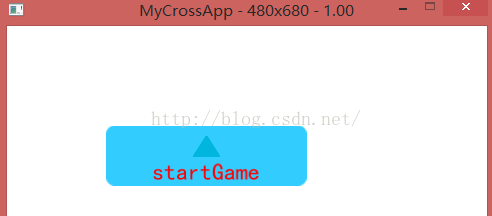
四。按钮的监听事件和响应
/*
的监听状态列表
own:按下按钮响应
:(未实现预留)双击时响应
oved:触点在范围内移动
:触点移动到范围外
:触点在范围内抬起
pSide:抬起
:此状态在无效,在中响应
*/
4.1 指定对象的添加一个函数处理,()
cabutton1->addTarget(this, CAControl_selector(FirstViewController::bt1_down), CAControlEventTouchDown);注意:要在.h 文件中申明这个函数
实例如下:
void FirstViewController::viewDidLoad()
{//	设置为CAButtonTypeCustom类型,看不见Button;CAButton* cabutton1 = CAButton::create(CAButtonTypeCustom);cabutton1->setFrame(CCRect(100, 100, 200, 40));//设置 Button 的题目(名字)cabutton1->setTitleForState(CAControlStateNormal, "startgame");cabutton1->setTitleForState(CAControlStateHighlighted, "STARTGAME");//设置Button 名字的状态颜色cabutton1->setTitleColorForState(CAControlStateHighlighted, ccc4(255, 0, 0, 255));//设置状态图片cabutton1->setImageForState(CAControlStateHighlighted, CAImage::create("r/vdo_play_down.png"));cabutton1->addTarget(this, CAControl_selector(FirstViewController::bt1_down), CAControlEventTouchDown);this->getView()->addSubview(cabutton1);}
void FirstViewController::bt1_down(CAControl* control, CCPoint point){CCLog("bt1 check down!!!");}//效果如下:它会在每次点击之后,在 中输出 bt1 check down!!!
4.2 监听其他的状态的处理
addTarget(this, CAControl_selector(FirstViewController::callbackMoved), CAControlEventTouchMoved);addTarget(this, CAControl_selector(FirstViewController::callbackMovedOutSide), CAControlEventTouchMovedOutSide);注意:
1.不设置 的frame,是不会显示的
/*
设置Frame(如果不设置Frame,默认是不显示的)
*/
2. 的状态是可以设置的:
设置的状态
/*
//->(ghted);
*/