cesium 绘制栅栏
绘制栅栏
网上的资料要不收费,要不代码不全,很多跟绘制墙体有关的案例要不缺放法要不干嘛的,我自己根据网上的方法又加上自己百度改,最后实现了一个效果,和我想实现的效果差不多,分享一下子。
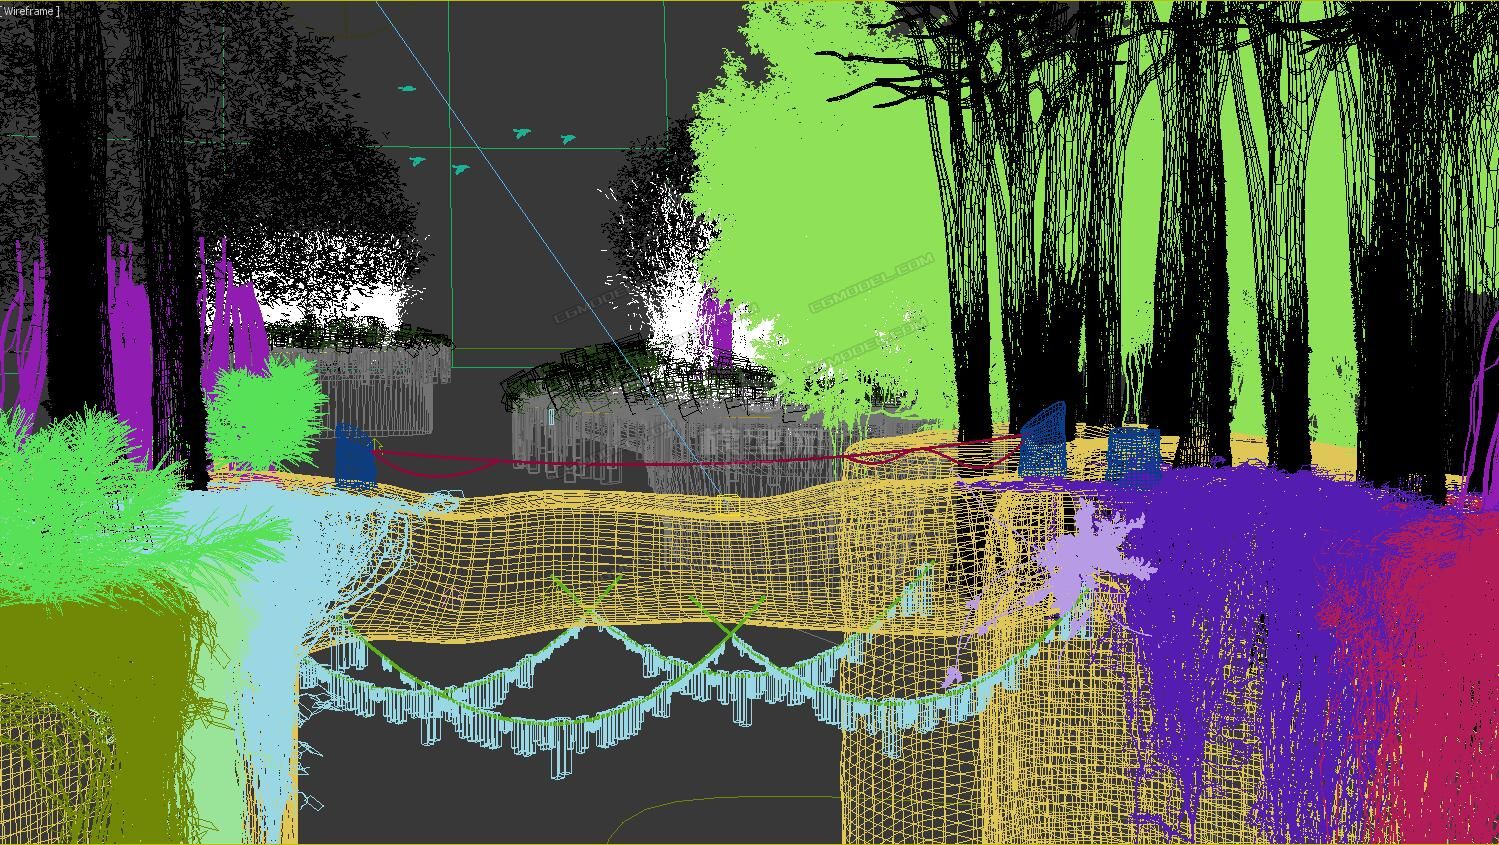
最终效果
反正这篇博文最后实现的效果就是上面动图的效果,如果你想实现的效果不是这个样子的话就不要看了,浪费时间了就。
创建 .js 文件
首先需要一个 .js 文件,然后在引入一下子。
.js 文件内容就是下面这个,理论上直接复制过去就可以了。
(function () {/*动态墙材质color 颜色duration 持续时间 毫秒trailImage 贴图地址*/function DynamicWallMaterialProperty(options) {this._definitionChanged = new Cesium.Event();this._color = undefined;this._colorSubscription = undefined;this.color = options.color || Color.BLUE;this.duration = options.duration || 1000;this.trailImage = options.trailImage;this._time = (new Date()).getTime();}/*** 带方向的墙体* @param {*} options.get:true/false* @param {*} options.count:数量 * @param {*} options.freely:vertical/standard* @param {*} options.direction:+/-*/function _getDirectionWallShader(options) {if (options && options.get) {var materail = "czm_material czm_getMaterial(czm_materialInput materialInput)\n\{\n\czm_material material = czm_getDefaultMaterial(materialInput);\n\vec2 st = materialInput.st;";if (options.freely == "vertical") { //(由下到上)materail += "vec4 colorImage = texture2D(image, vec2(fract(st.s), fract(float(" + options.count + ")*st.t" + options.direction + " time)));\n\ ";} else { //(逆时针)materail += "vec4 colorImage = texture2D(image, vec2(fract(float(" + options.count + ")*st.s " + options.direction + " time), fract(st.t)));\n\ ";}//泛光materail += "vec4 fragColor;\n\fragColor.rgb = (colorImage.rgb+color.rgb) / 1.0;\n\fragColor = czm_gammaCorrect(fragColor);\n\material.diffuse = colorImage.rgb;\n\material.alpha = colorImage.a;\n\material.emission = fragColor.rgb;\n\return material;\n\}";return materail}}Object.defineProperties(DynamicWallMaterialProperty.prototype, {isConstant: {get: function () {return false;}},definitionChanged: {get: function () {return this._definitionChanged;}},color: Cesium.createPropertyDescriptor('color')});var MaterialType = 'wallType' + parseInt(Math.random() * 1000);DynamicWallMaterialProperty.prototype.getType = function (time) {return MaterialType;};DynamicWallMaterialProperty.prototype.getValue = function (time, result) {if (!Cesium.defined(result)) {result = {};}result.color = Cesium.Property.getValueOrClonedDefault(this._color, time, Cesium.Color.WHITE, result.color);result.image = this.trailImage;if (this.duration) {result.time = (((new Date()).getTime() - this._time) % this.duration) / this.duration;}viewer.scene.requestRender();return result;};DynamicWallMaterialProperty.prototype.equals = function (other) {return this === other ||(other instanceof DynamicWallMaterialProperty&& Cesium.Property.equals(this._color, other._color))};Cesium.Material._materialCache.addMaterial(MaterialType, {fabric: {type: MaterialType,uniforms: {color: new Cesium.Color(1.0, 0.0, 0.0, 0.5),image: Cesium.Material.DefaultImageId,time: -20},source: _getDirectionWallShader({get: true,count: 3.0,freely: 'vertical',direction: '-'})},translucent: function (material) {return true;}});Cesium.DynamicWallMaterialProperty = DynamicWallMaterialProperty;
})();
上边代码呢,就是 .js 文件的全部内容,然后嘞,在文件引入一下。
<script type="text/javascript" src="./dynamicWallMaterialProperty.js"></script>
然后嘞,就可以编写逻辑代码了呀!
function dataProces() {let data = [[116.398322, 39.929032],[116.408096, 39.929364],[116.408599, 39.919736],[116.398609, 39.919404], [116.398322, 39.929032],]let coor = Array.prototype.concat.apply([],data);let datasouce = map_common_addDatasouce('wall');datasouce.entities.add({wall: {positions: Cesium.Cartesian3.fromDegreesArray(coor),positions: Cesium.Cartesian3.fromDegreesArray(coor),maximumHeights: new Array(data.length).fill(300),minimunHeights: new Array(data.length).fill(0),material: new Cesium.ImageMaterialProperty({transparent: true,//设置透明image: "./img/wjw.png",repeat: new Cesium.Cartesian2(1.0, 1),// color: Cesium.Color.RED,}),// material: new Cesium.DynamicWallMaterialProperty({ trailImage: './img/wjw.png', color: Cesium.Color.RED, duration: 1000 })},});}
然后调用上面的方法就可以了!!
但是上面代码使用了一个方法,就是 uce ,网上很多案例都使用了这个方法,但是呢,这个方法又不说是啥,然后我在调用的时候直接就是找不到了,但是好在找到了这个方法。
function map_common_addDatasouce(datasouceName) {let datasouce = viewer.dataSources._dataSources.find(t => {return t && t.name == datasouceName;});if (!datasouce) {datasouce = new Cesium.CustomDataSource(datasouceName);viewer.dataSources.add(datasouce);}return datasouce;}
好了,总体就是这个样子,完成!!!